▣ node, npm 설치 확인
brew 를 통해 node 를 설치 합니다. brew 사용은 아래 링크를 확인해주세요
brew install node
2024.06.15 - [Develop/MAC] - MAC OS 맥북 Homebrew 설치 및 설정
MAC OS 맥북 Homebrew 설치 및 설정
● Homebrew 로 무엇을 할 수 있나요?Homebrew는 Apple(또는 Linux 시스템)에서 제공하지 않는 유용한 패키지 관리자를 설치합니다.● Homebrew 설치Homebrew 사이트 (https://brew.sh/ko/) 접속 후 설치하기의 스크
issuemaker99.tistory.com
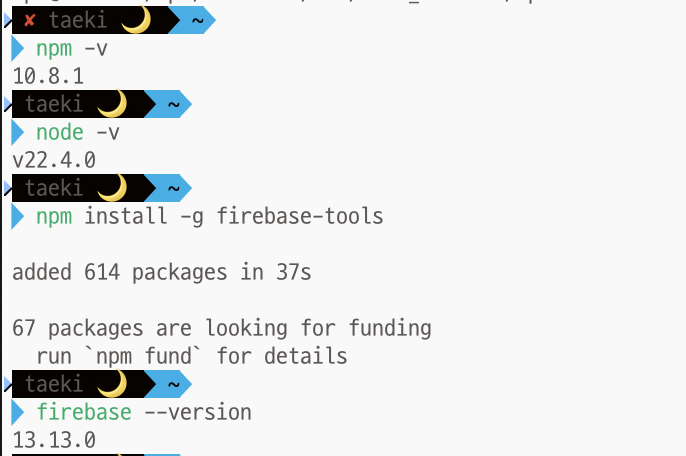
brew 를 통해 node 를 설치하고 잘 설치되었는지 버전 확인을 해봅니다.
npm -v
node -v
▣ firebase-tools 설치 확인
아래 명령어로 firebase-tools 를 설치하고 버전 확인을 해봅니다.
npm install -g firebase-toolsfirebase --version
▣ 프로젝트에 firebase_core 설치 확인
세팅하고자 하는 프로젝트 폴더로 이동한 후 아래 명령어로 firebase_core 를 추가합니다.
flutter pub add firebase_core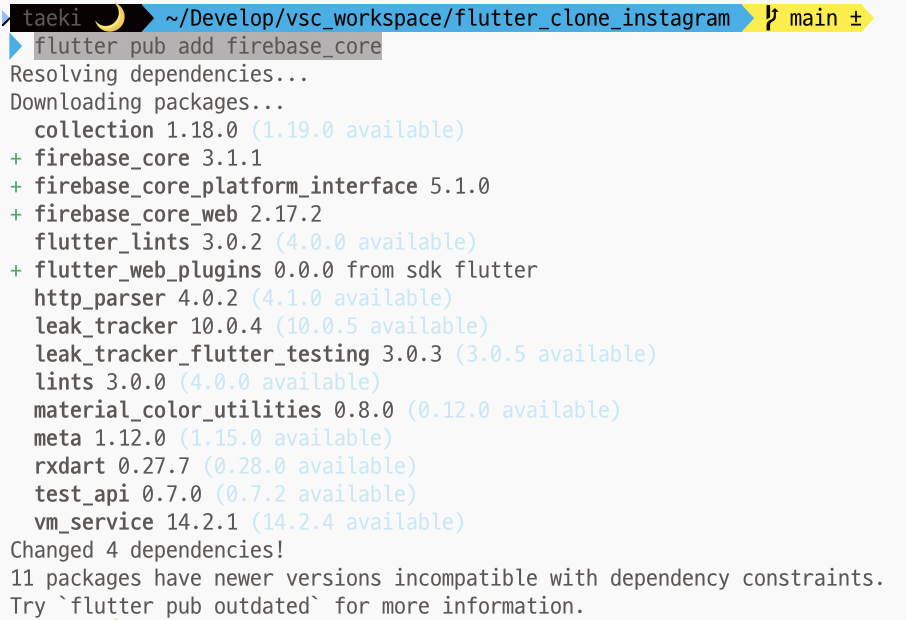
▣ firebase login 오류 발생 시 해결방법
firebase login 명령어를 콘솔창에서 실행 시 'punycode' 에러가 발생하면 밑에 node 설치 버전을 변경해야 합니다. node 버전이 너무 높을 경우 발생할 수 있어 안정적인 낮은 버전으로 교체 합니다.
firebase login 오류
DeprecationWarning: The `punycode` module is deprecated. Please use a userland alternative instead.
(Use `node --trace-deprecation ...` to show where the warning was created)
brew search node
brew install node@18
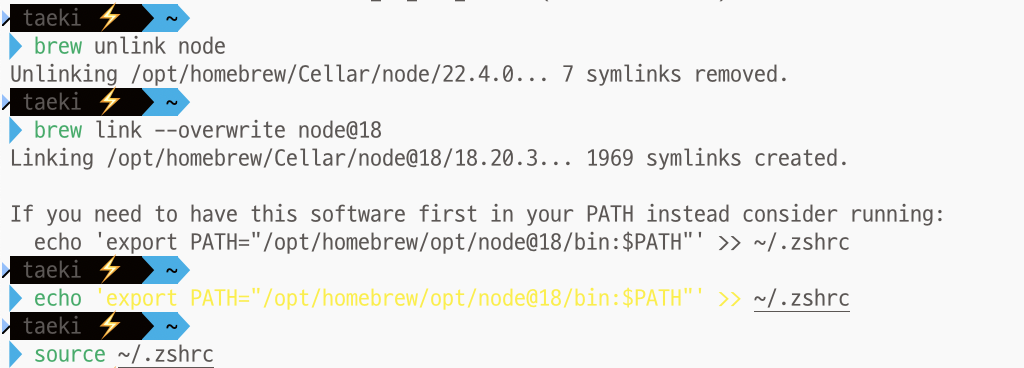
기존의 node 를 해제하고 새로 설치한 node@18 을 연결 합니다.. 그리고 .zshrc 에 path 를 추가하고 적용한다.
brew unlink node
brew link --overwrite node@18
echo 'export PATH="/opt/homebrew/opt/node@18/bin:$PATH"' >> ~/.zshrc
source ~/.zshrc
▣ flutterfire 설치 및 설정
먼저 firebase 에 로그인 합니다. 아래 명령어를 콘솔에 실행하면 사이트 연결 후 로그인을 합니다.
firebase login그리고 세팅하고자 하는 프로젝트 폴더에서 아래 명령어를 실행 합니다.
dart pub global activate flutterfire_cli
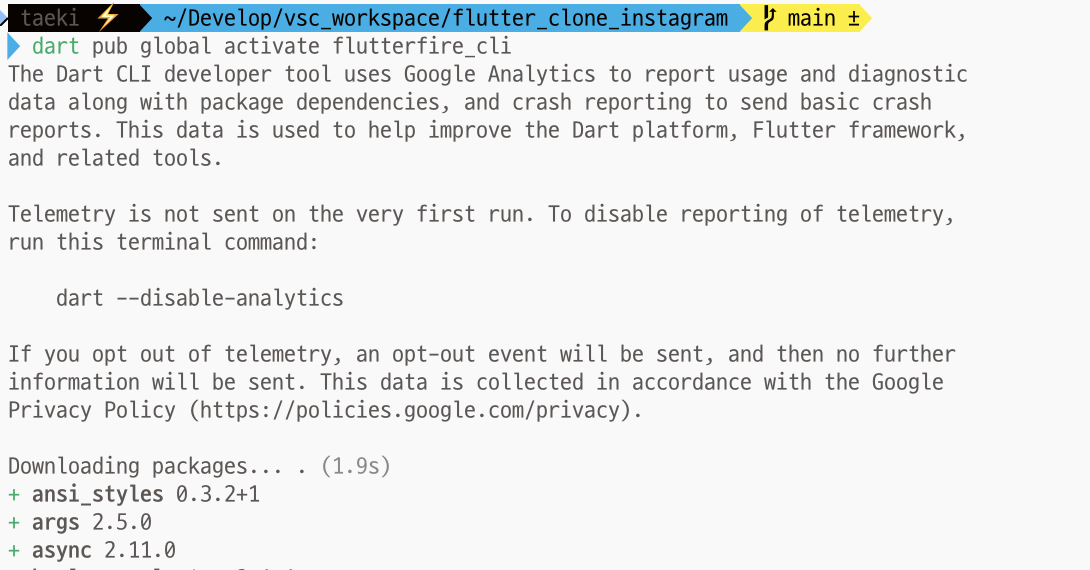
설치가 완료 된 후 아래 내용을 추가적용 합니다.
echo 'export PATH="$PATH":"$HOME/.pub-cache/bin"' >> ~/.zshrc
source ~/.zshrc
▣ firebase 접속 후 프로젝트 생성
firebase 사이트에 접속 후 프로젝트를 생성 합니다.
https://console.firebase.google.com
로그인 - Google 계정
이메일 또는 휴대전화
accounts.google.com
생성한 프로젝트에서 아래 이미지의 플러터 모양을 클릭 합니다.

그리고 2번째 단계의 flutterfire configure 명령어를 복사 합니다.

세팅하고자 하는 프로젝트 폴더로 이동 후 복사한 명령어를 붙여넣고 실행 합니다. 그리고 추가하고자 하는 플랫폼이 있다면 커서로 이동 후 스페이스를 누르면 되고 아니면 엔터를 클릭 합니다.

android 의 번들정보는 자동으로 세팅 되지만 ios 번들 정보는 직접 입력해야 합니다. 프로젝트 폴더내에 [../ios/Runner.xcodeproj/project.pbxproj] 파일을 열고 bundle 로 검색을 하면 내 프로젝트의 ios bundle id 를 알수 있습니다
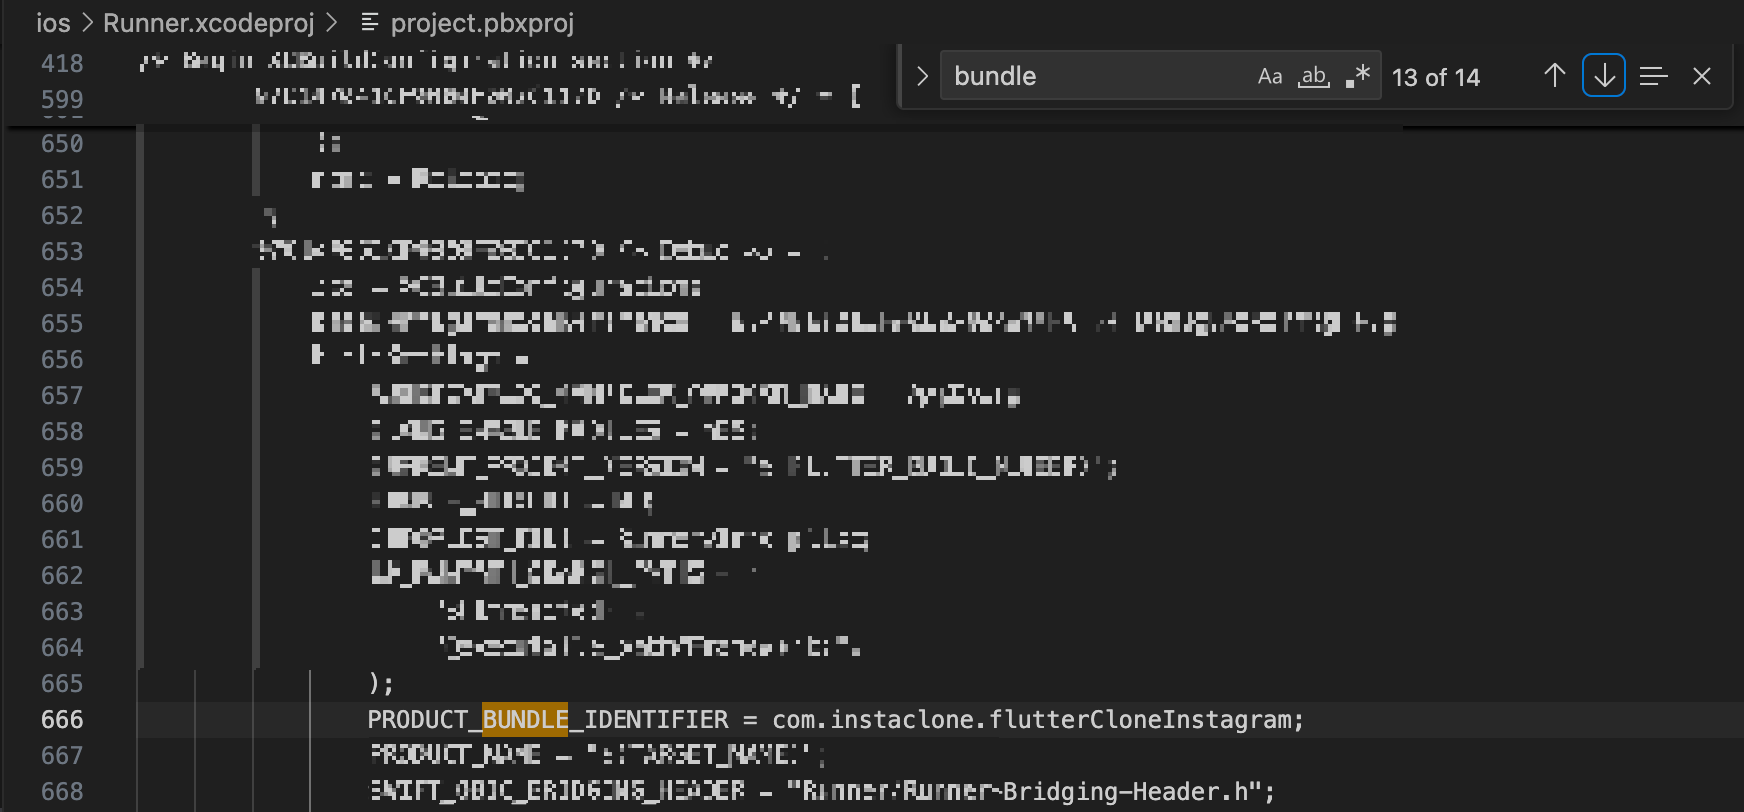
ios 번들 아이디를 입력하고 엔터를 입력 합니다. 정상적으로 세팅이 되면 아래와 같은 결과 화면이 나오고 프로젝트 폴더에 firebase_options.dart 파일이 생성 됩니다.

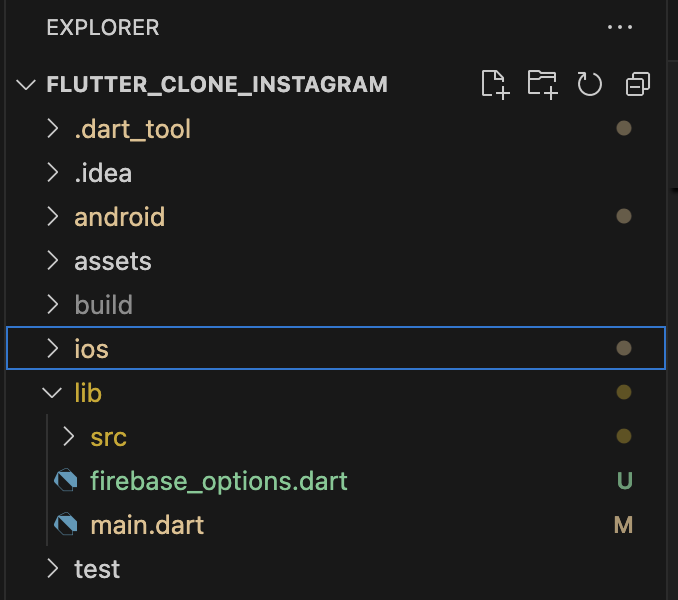
main.dart 에서 아래 내용을 추가하고 정상적으로 실행되면 성공 입니다.
import 'package:firebase_core/firebase_core.dart';
import 'package:flutter/material.dart';

import 'firebase_options.dart';

void main() async {
  await Firebase.initializeApp(
    options: DefaultFirebaseOptions.currentPlatform,
  );

  runApp(const MyApp());
}
★ cannot load such file -- xcodeproj (LoadError) 오류 발생시 해결방법
원인은 시스템 ruby 를 사용하고 있어 gem 사용 권한이 없기 때문 입니다.
Exception: /System/Library/Frameworks/Ruby.framework/Versions/2.6/usr/lib/ruby/2.6.0/rubygems/core_ext/kernel_require.rb:54:in `require': cannot load such file -- xcodeproj (LoadError)
        from /System/Library/Frameworks/Ruby.framework/Versions/2.6/usr/lib/ruby/2.6.0/rubygems/core_ext/kernel_require.rb:54:in `require'
        from -e:1:in `<main>'
brew 를 통해 rbenv 를 설치 합니다.
brew install rbenv ruby-build버전을 확인하고 현재 설치된 ruby 와 같은 버전을 설치해 줍니다.
rbenv versions
ruby -v
rbenv install -list
rbenv install 2.6.10
rbenv global 2.6.10
설치 후 버전 변경을 완료하면 vi ~/.zshrc 를 통해서 아래 내용을 하단에 추가하고 적용해 줍니다.
[[ -d ~/.rbenv  ]] && \
  export PATH=${HOME}/.rbenv/bin:${PATH} && \
  eval "$(rbenv init -)"
source ~/.zshrc
gem 을 통해 bundler , xcodeproj 를 다시 설치 합니다. 그리고 flutterfire configure 설정을 다시 하면 정상적으로 처리되는걸 확인할 수 있습니다
gem install bundlergem install xcodeproj
★ 그 외 pod install 오류 해결 방법
진행하는 프로젝트 폴더내의 ios 폴더로 이동 후 pod install 을 실행 후 에러가 발생할 수 있습니다
arch -x86_64 pod install --repo-update
오류내용
[!] CocoaPods could not find compatible versions for pod "firebase_core":
In Podfile:
firebase_core (from `.symlinks/plugins/firebase_core/ios`)
Specs satisfying the `firebase_core (from `.symlinks/plugins/firebase_core/ios`)` dependency were found, but they required a higher minimum deployment target.
[!] Automatically assigning platform `iOS` with version `12.0` on target `Runner` because no platform was specified. Please specify a platform for this target in your Podfile. See `https://guides.cocoapods.org/syntax/podfile.html#platform`.

[../ios/Podfile] 파일을 열고 platform :ios, '12.0' 내용을 찾아 주석 해제 합니다.

[../ios/.symlinks/plugins/firebase_core/ios/firebase_core.podspec] 파일을 열고 s.ios.deployment_target 의 내용을 찾아 12.0 으로 값을 수정해 줍니다.

다시 실행하면 정상적으로 처리되는걸 확인 할 수 있습니다.

'Develop > Flutter' 카테고리의 다른 글
| flutter firebase google 간편로그인 (google_sign_in) 사용 시 ios 시뮬레이터 강제종료 현상 간단 해결 (0) | 2024.07.07 |
|---|---|
| vscode 에서 flutter 프로젝트 android 시뮬레이터 실행 시 minSdkVersion 버전으로 인한 오류 발생 시 해결방법 (1) | 2024.07.05 |
| Flutter 플러터 ElevatedButton class 정의 및 간단사용법 (0) | 2024.07.03 |
| Flutter 플러터 photo_manager 사용하기 IOS 필요한 설정 (0) | 2024.06.26 |
| VSC (Visual Studio Code) 에 플러터 (flutter) 개발 코딩을 위한 세팅 및 플러그인 Extensions 설치 (0) | 2024.06.17 |